How to Create an Image in DiskExplorer
You can create hard drive images for data recovery purposes with GetDataBack, DiskExplorer, or RAID Reconstructor. These images are raw sector-by-sector drive clones. They have the extension .img if uncompressed, or.imc if compressed. Please note that DriveImage XML images (.dat, .xml) are NOT compatible with data recovery images.
1 Startup DiskExplorer
")
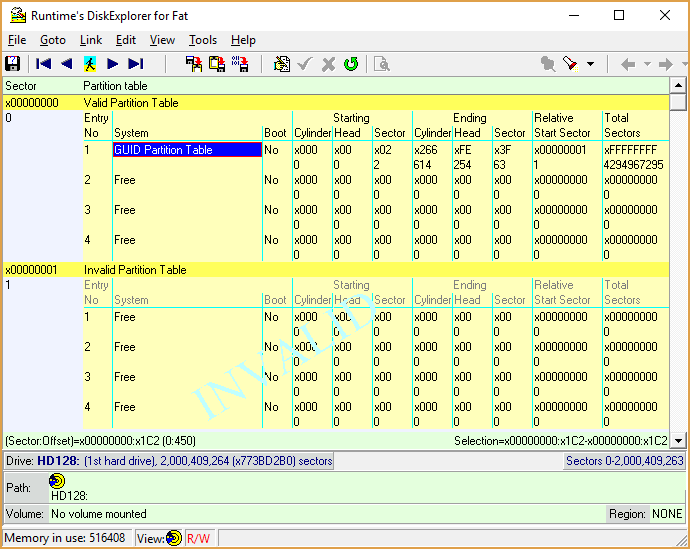
DiskExplorer: Start screen showing sector 0 of HD128 (1st drive)
You can use any version of DiskExplorer. Upon startup, the screen should look something like this. DiskExplorer automatically shows sector 0 of the first hard drive (HD128, a.k.a. DISK0).
2 Open "Select Drive" dialog

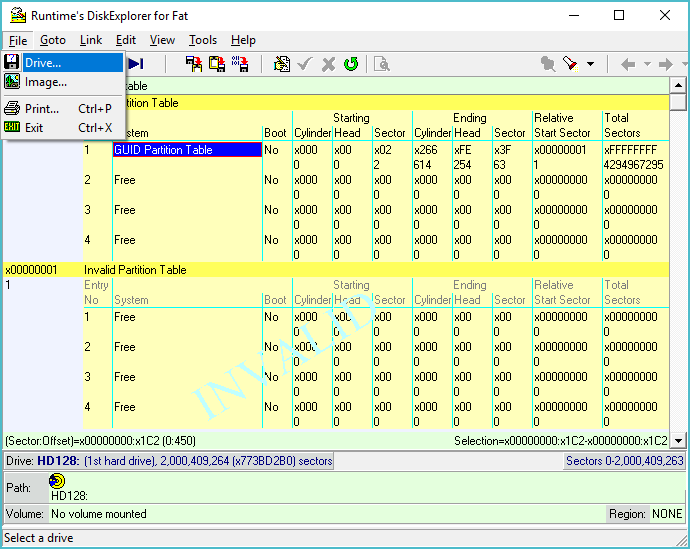
DiskExplorer: Select another drive
We want to work on a different drive, as HD128 is our system drive. Click on "File—>Drive". That will let us pick what drive we want to image.
3 Choose drive to image
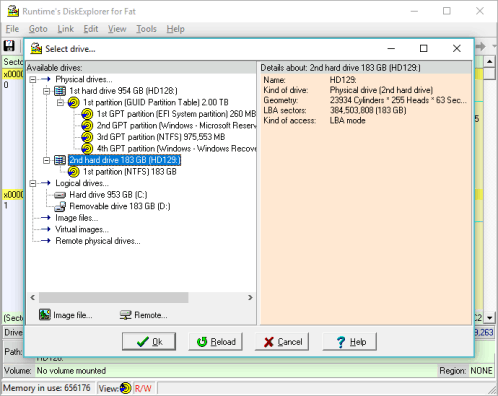
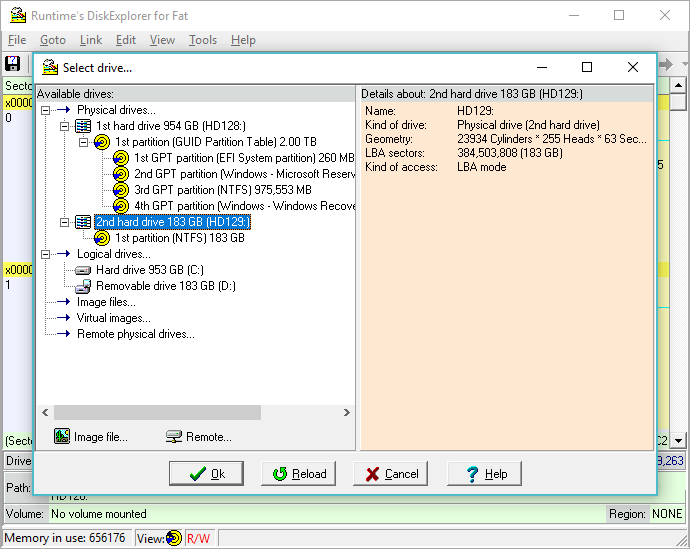
DiskExplorer: "Select drive" dialog with available drives
From the "Select drive" dialog, we choose the correct drive to make the image from. Remember that the image will be the same size as the drive, and you never want to copy the image to the drive you are trying to image. It needs to be another drive at least the same size, if not larger. We choose the 2nd drive (HD129, a.k.a. DISK1) as the drive we want to image. It has a capacity of 183 GB, and we will put the image onto C:\, which is on the first drive (HD128, a.k.a. DISK0).
4 Verify the drive
")
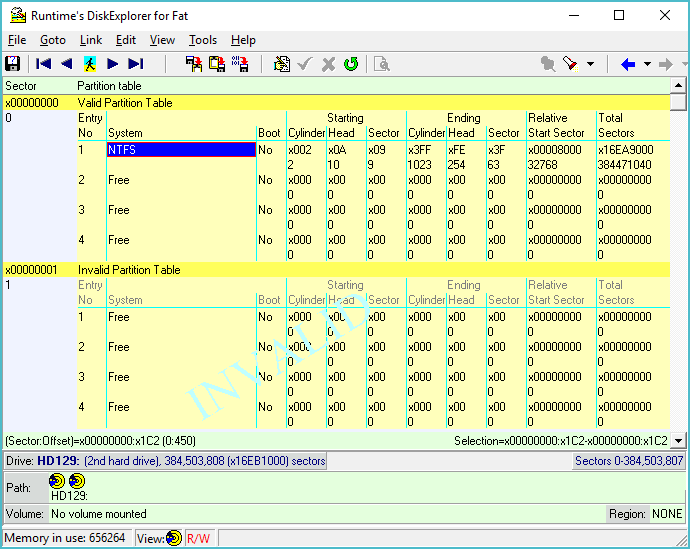
DiskExplorer: Screen showing sector 0 of HD129 (2nd drive)
Once you select your drive, the screen will look like it did when you first opened the program, but you are looking at the first sector of HD129 now.
5 Switch View to Hex

DiskExplorer: Change View to Hex
Click on "View—>as Hex" to change the display mode to hexadecimal. The same thing can be accomplished by pressing F3.
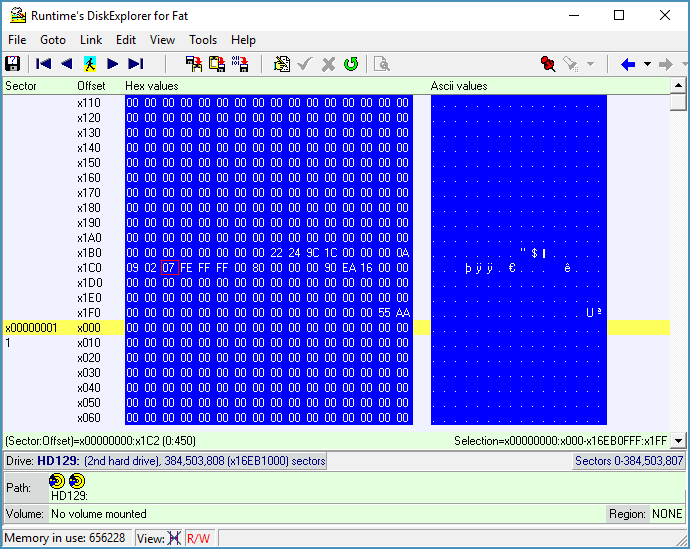
6 Select All

DiskExplorer: Select all
You are now viewing your drive in Hex. Next, we select the data we want to copy. As you wish to copy everything, click on "Edit—>Select All" or press CTRL-A.
7 Verify selection

DiskExplorer: Entire drive is selected
Your entire drive in Hex should be highlighted now. At the right-bottom the software tells you the range of data is has selected, x00000000:x000-x16eb0fff:x1ff
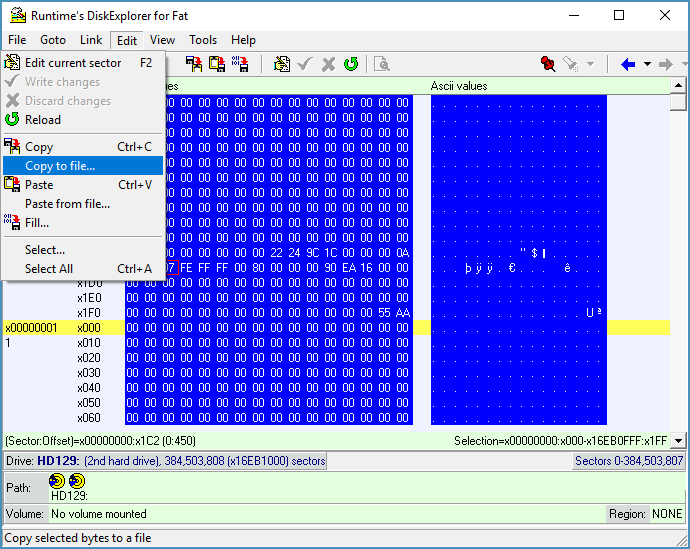
8 Copy to file

DiskExplorer: Open "Copy to file" dialog
Click on "Edit—>Copy to file" to bring up a file dialog.
9 Select a filename

DiskExplorer: Choose destination filename
You need to give the image a name and tell the software where to store it. The software will show the size of the image it creates at the top of the prompt. In this case, it is 183 GB. Remember, the drive you copy this image to can not be the same drive and has to have at least 183 GB of free space.
10 Split image

DiskExplorer: Split image?
DiskExplorer will now ask you if you want to split the image into several files. You should answer "Yes" to this, as the destination drive might not accept very large files. This option is identical with the "Multi-file" option you see in GetDataBack.
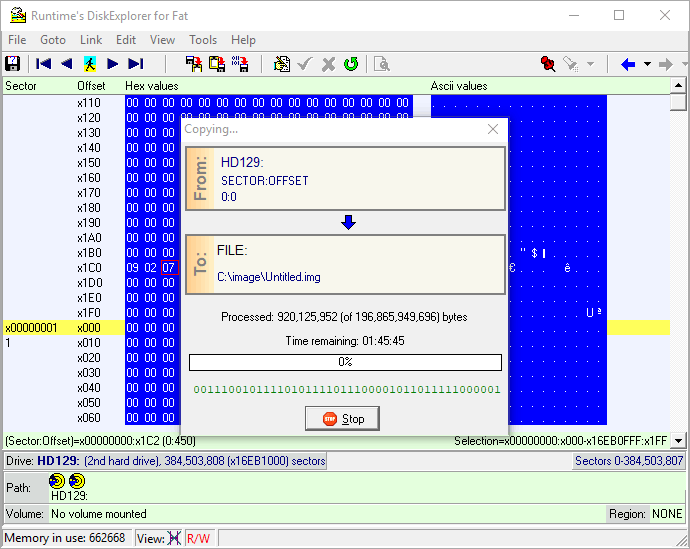
11 Copy progress

DiskExplorer: Drive imaging progress
Once you answered the "split image" dialog, the software starts copying. The time the image takes depends on the computer speed, the hard drive speed, and the severity of eventual disk damage. As you can see from the screenshot, it will take about 1:45 hours with a Intel i7 2.2GHz to copy a 183 GB Micro SD card to a SSD drive. Now, if the drive has bad sectors on it, the image could take a lot longer.