How to Write an Image Back to a Drive
You can write hard drive images previously created with GetDataBack, DiskExplorer, or RAID Reconstructor, back to a different drive. These images are raw sector-by-sector drive clones. They have the extension .img if uncompressed, or.imc if compressed. Please note that DriveImage XML images (.dat, .xml) are NOT compatible with data recovery images.
In the following example, we will write a 4 GB image file to an empty 4 GB USB stick. The 4 GB target drive is plugged into a USB port and recognized by DiskExplorer as 3rd drive (HD130).
Warning The procedure described below is intended to be used by careful and experienced users. Writing directly to a drive can cause data loss and system corruption.
1 Startup DiskExplorer

DiskExplorer: Change the Security options
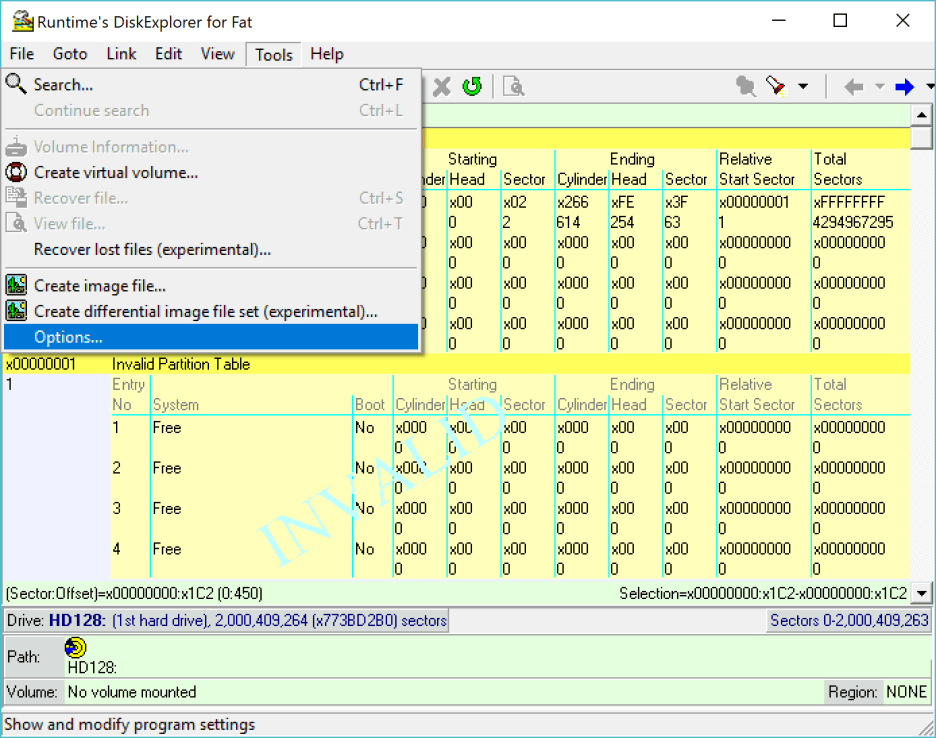
The first thing we do after starting up DiskExplorer is to enable its direct writing ability. This is usually disabled by default. To do this, click on Tools—>Options.
2 Enable direct read/write

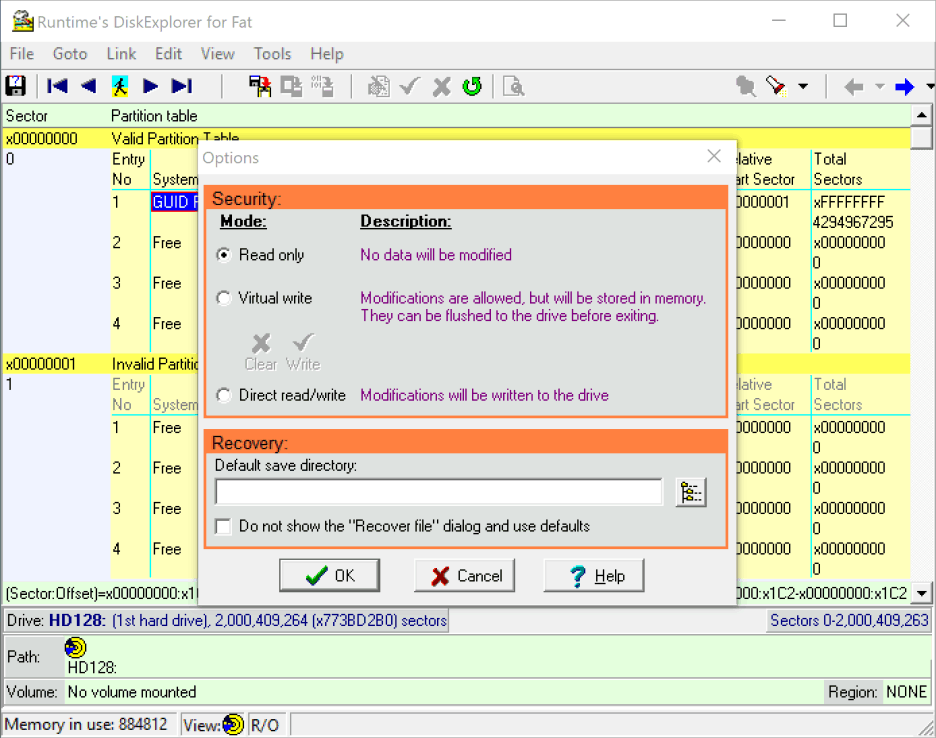
DiskExplorer: Select "Direct read/write"
In the Options dialog, you see that the software is in "Read-Only" mode. Click on where it says "Direct read/write". That will allow you to write data to the drive directly. Once you have selected that option, click on Ok.
3 Go to "Select drive" dialog

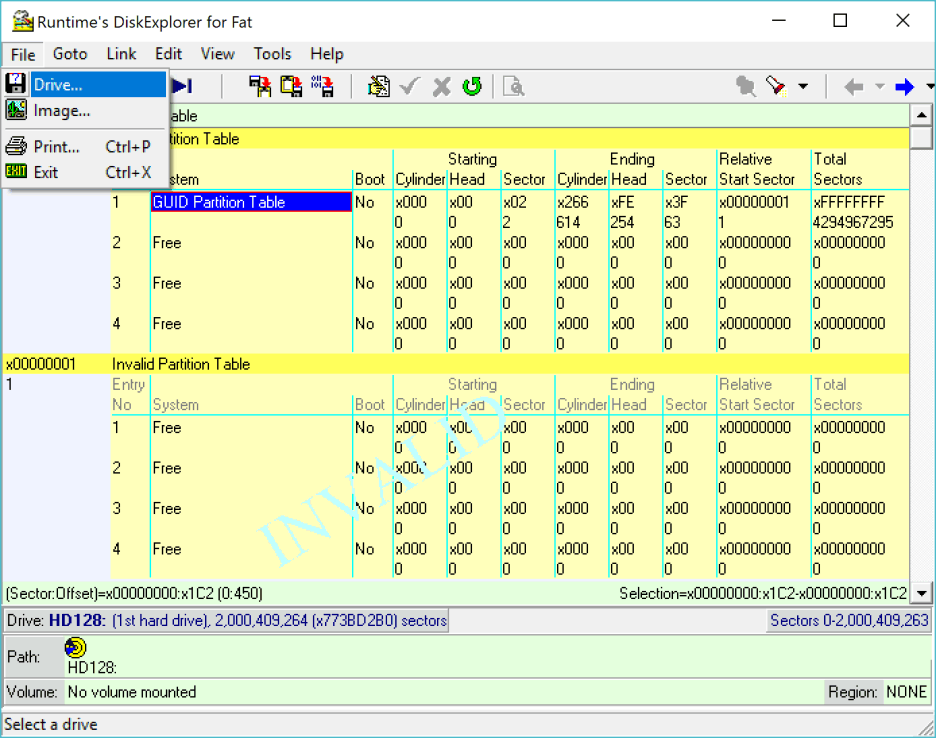
DiskExplorer: Invoke "Select drive" dialog
Go to File—>Drive. You are going to pick the drive you are writing the image to.
Warning Anything on this drive will be destroyed, so be sure you have the right drive, and no data on here is needed.
Warning Also, you must not choose the drive that hosts the system partition C:, usually HD128.
4 Select the target drive
 as target")
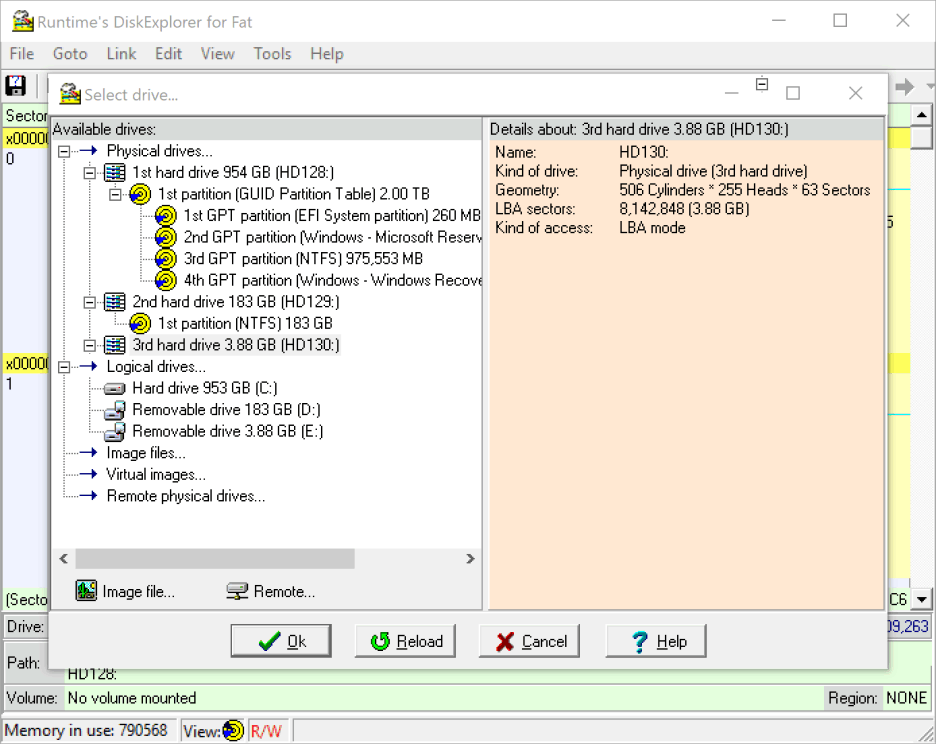
DiskExplorer: Select the 3rd drive (HD130) as target
Select the drive you want to write the image to. Remember, all data will be lost on this drive. The drive you pick should be empty, meaning it should have no partition underneath. Otherwise Windows might prevent us from writing there (see 11).
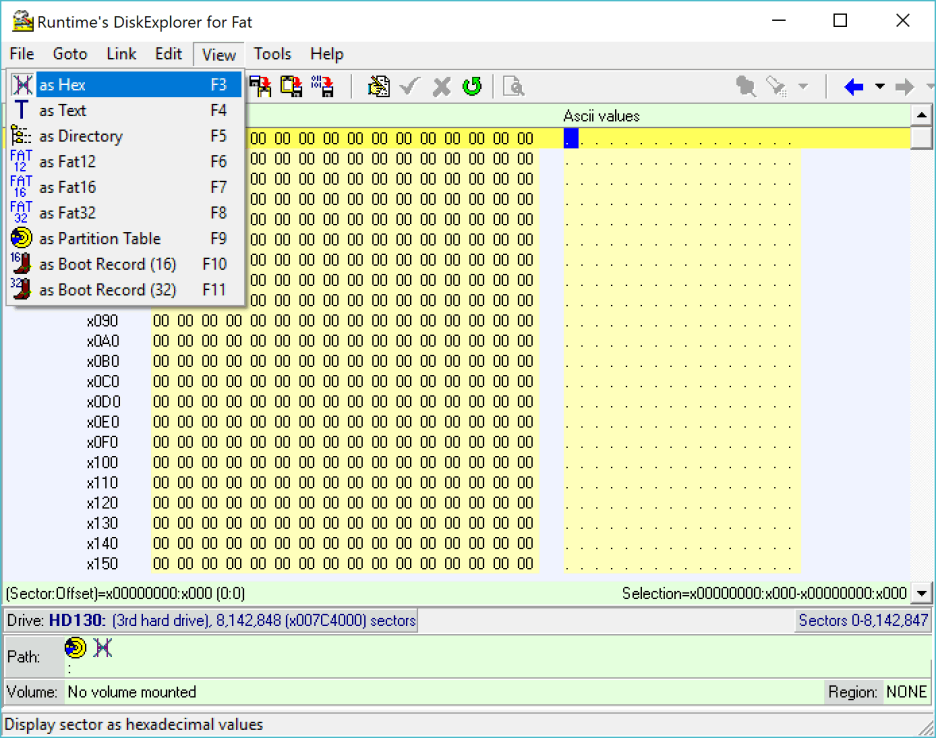
5 Switch View to Hex

DiskExplorer: Change View to Hex
Click on "View—>as Hex" to change the display mode to hexadecimal. The same thing can be accomplished by pressing F3.
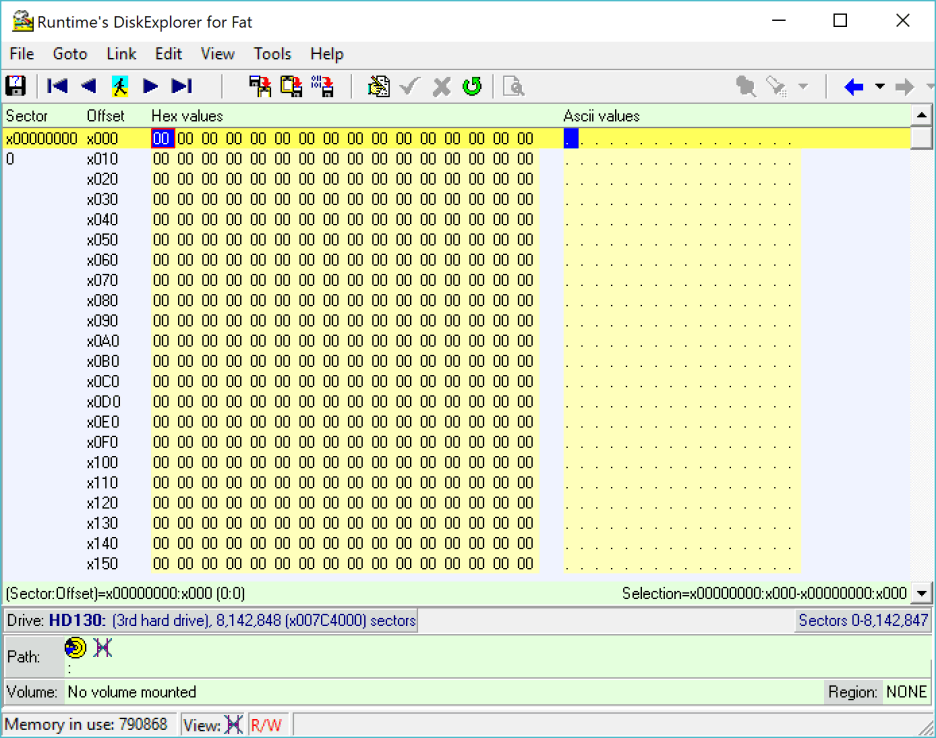
6 Position cursor on top

DiskExplorer: Put the cursor on the first byte
Position the cursor on the first byte of the first sector (sector 0).
Important Verify that the Sector:Offset in the bottom shows 0:0
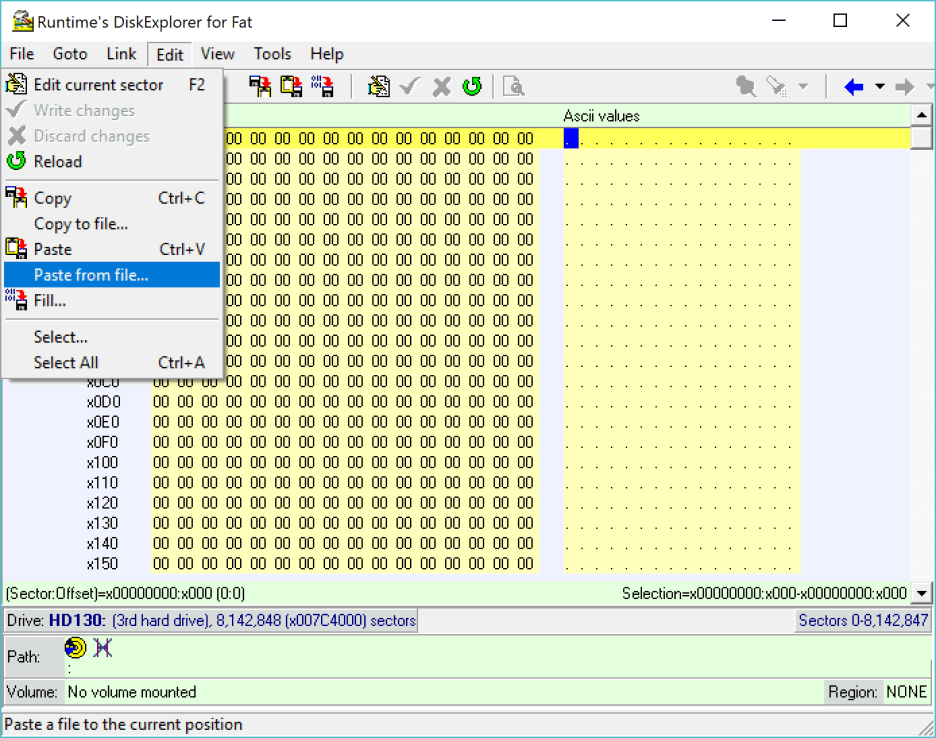
7 Go to "Paste from file"

DiskExplorer: Goto "Paste from file"
Click on "Edit—>Paste from file".
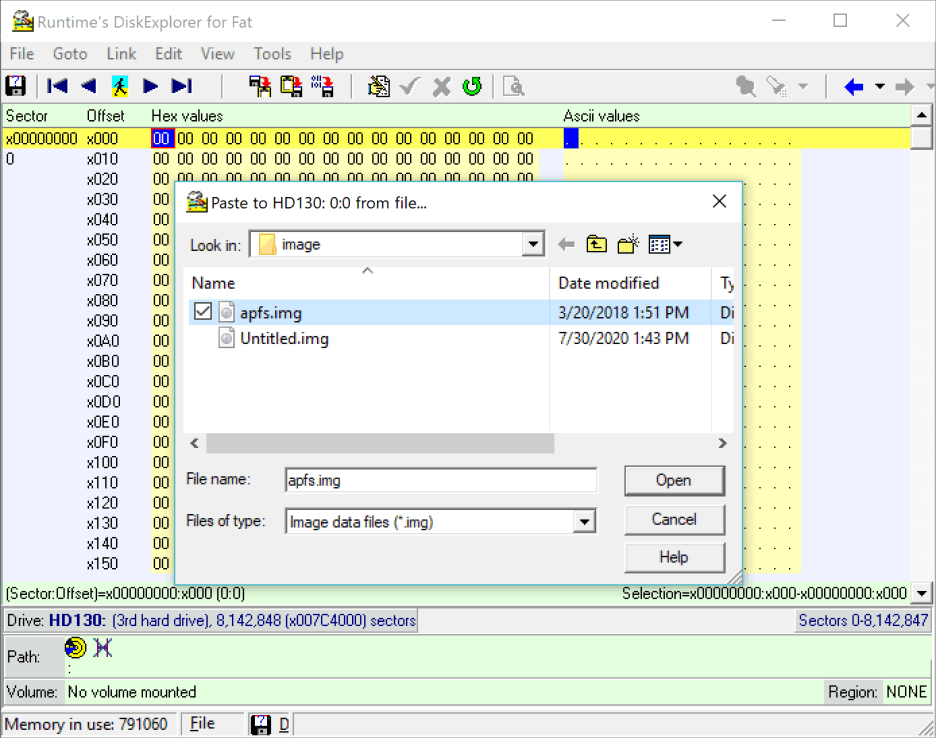
8 Select source image file

DiskExplorer: Select source image
The prompt box asks for the image file that will be written to the drive. Select the image and press Open.
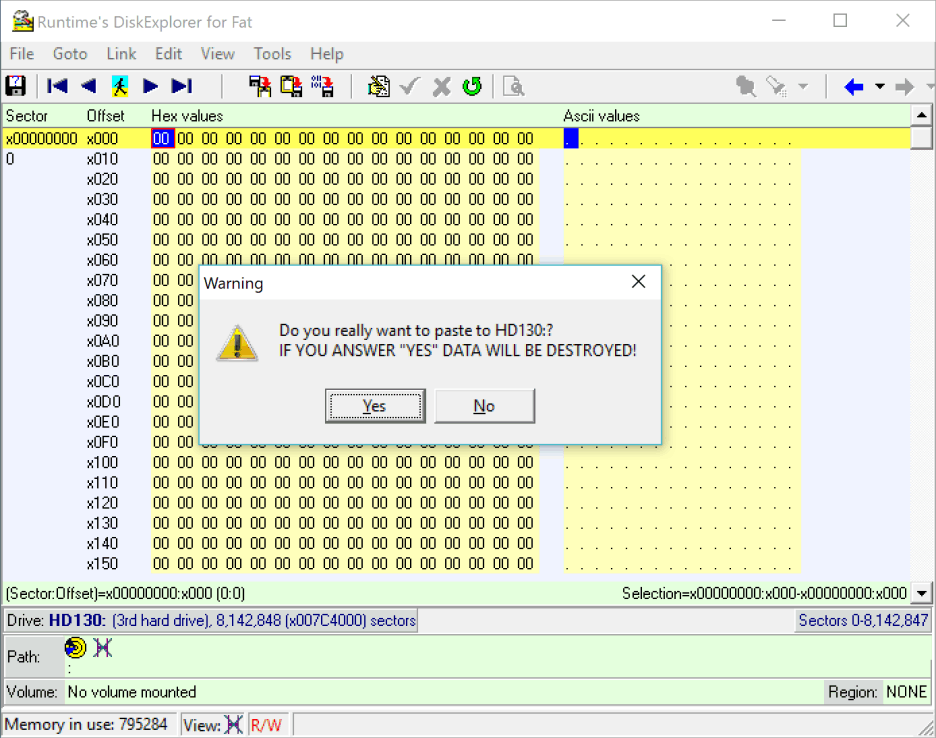
9 Confirmation

DiskExplorer: Confirm the pending write operation
You are now prompted about destroying the data that is currently on the drive. This is not reversible and can not be undone. Ensure that the drive you want to copy over does not contain any important data.
Critical This is your last chance to stop this process.
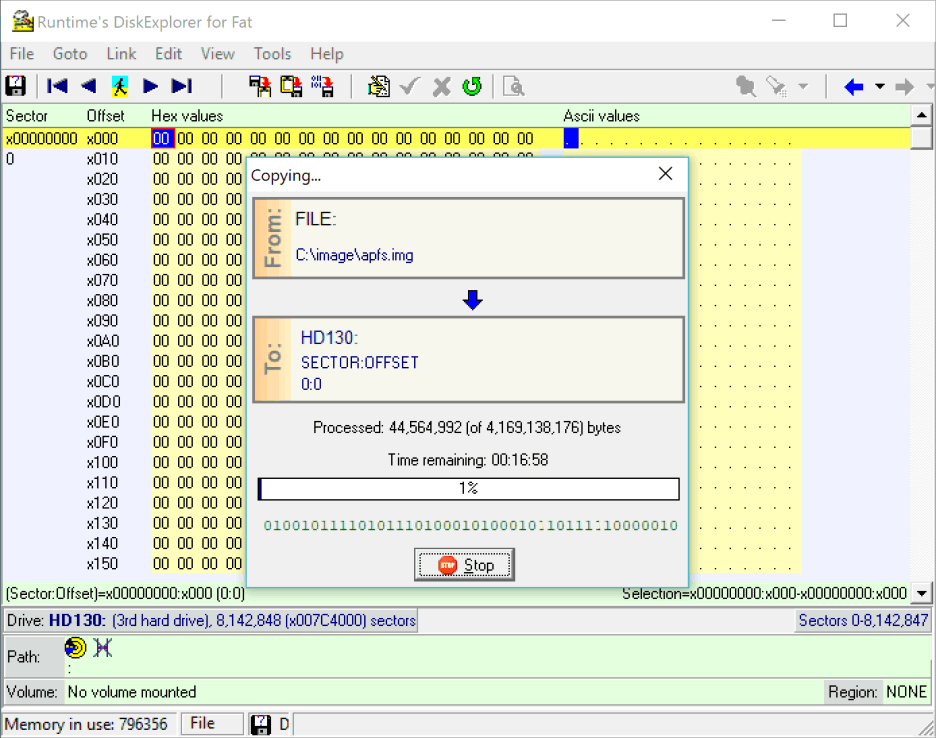
10 Copy progress

DiskExplorer: Copy progress
Once you answer YES to the question, the data will start copying. After the copying is done, the image has been written to the drive. If this was a bootable image, make sure that it boots, if it was just data, check Windows Explorer to make sure the data is viewable.
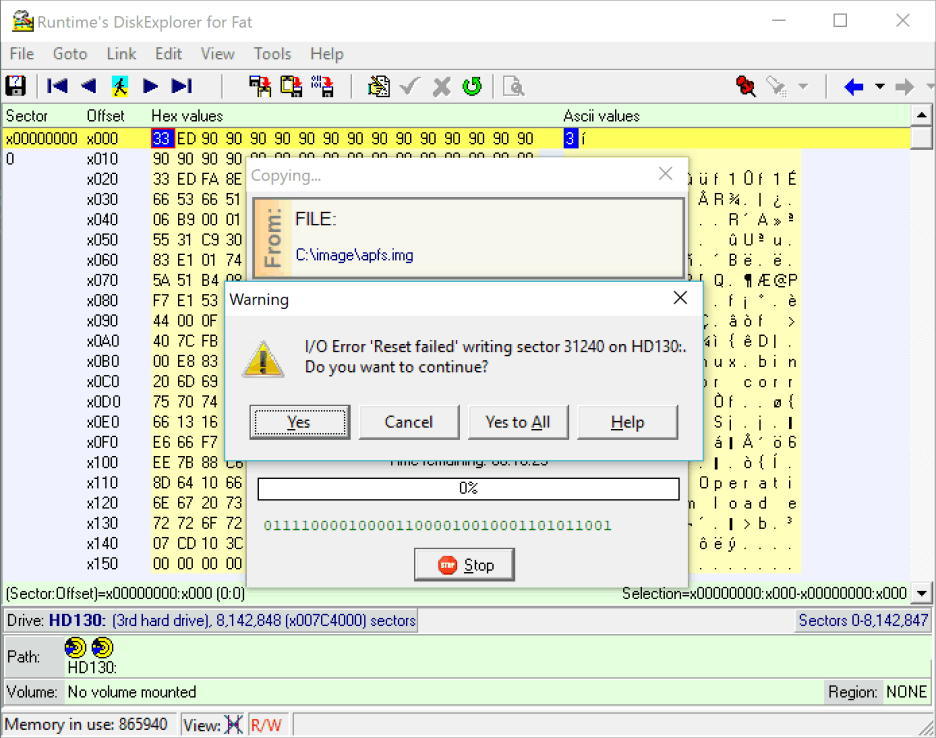
11 Troubleshooting

DiskExplorer: Reset failure error
If you receive a "Reset Failed" error early in the copying, Windows prevents the program from writing to the target drive. You can solve the problem by running DiskExplorer from the Runtime Live CD or by first overwriting sector 0 of the target drive with zeros.